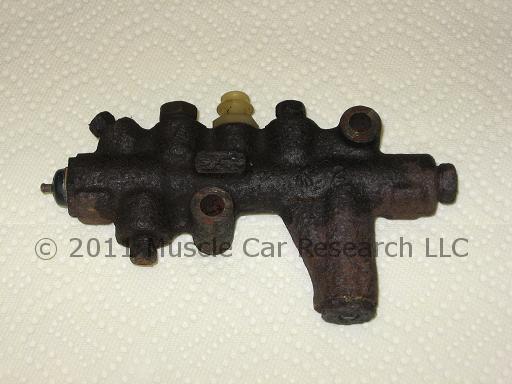
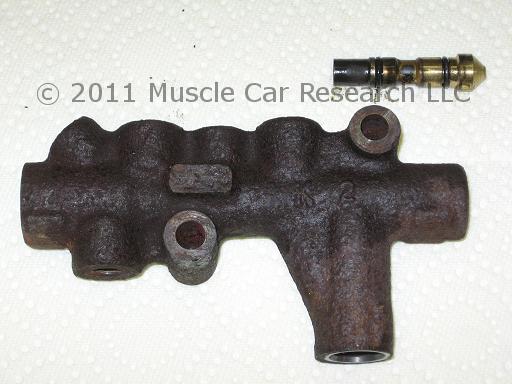
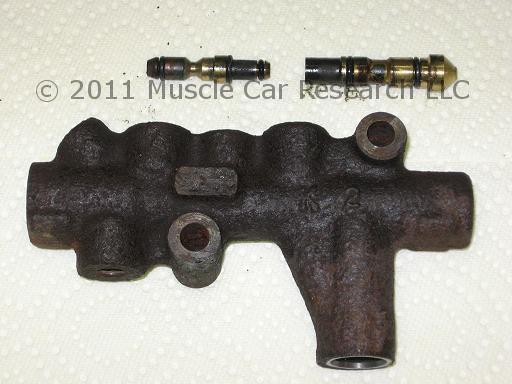
I personally removed this cast iron Kelsey-Hayes brake combination valve from a 1979 Chevrolet Camaro Sport Coupe. The valve includes pressure differential (in the middle), proportioning (at right), and metering (at left) components. I am unsure of the original GM part number for this valve. Similar valves were used on AMC (321 1630), Ford (D5AZ-2B257-A, D6OZ-2B257-A), and Chrysler Corporation (3583607) vehicles.
I disassembled this valve to see if it's rebuildable. Follow along as I tear it down! Tools needed:
|
|
Step 1: Remove the external fittings and pressure differential switch using the sockets and wrenches.That large fitting at bottom right is the plug for the proportioning valve.

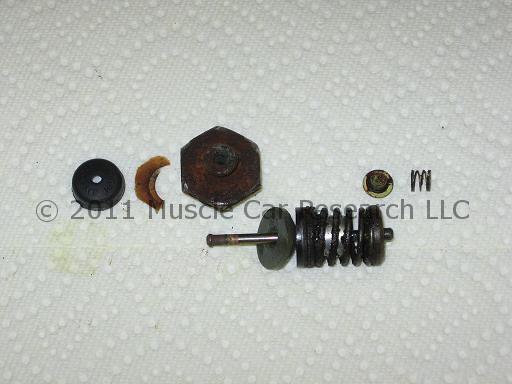
Turn your attention to the proportioning valve components. I discovered the first o-ring seal and a piston seal when I removed the proportioning valve plug. This spring appears to be identical to the springs I've seen in other Kelsey-Hayes proportioning valves.
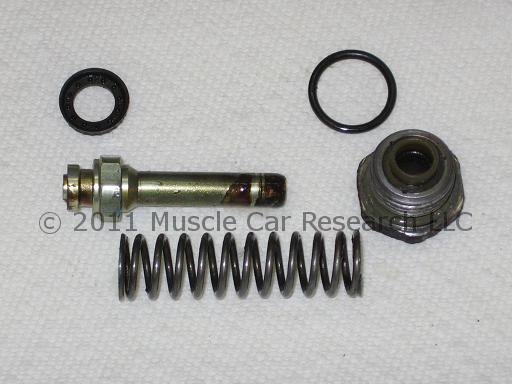
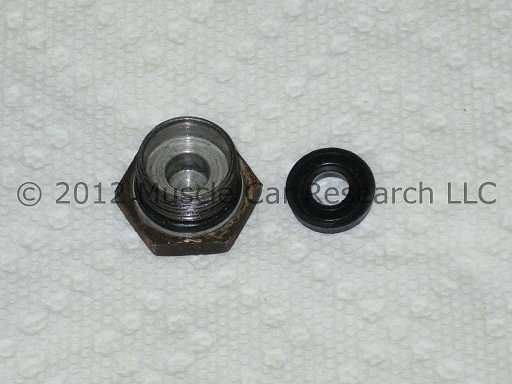
I've seen at least one version of this valve that uses a slightly different proportioning valve plug. Instead of a nylon bushing, this type uses a rubber u-cup seal.
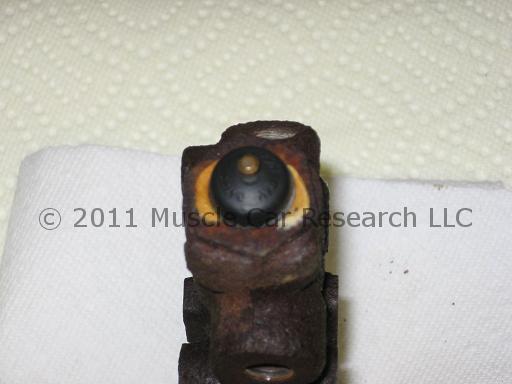
Now let's have a look at the metering valve. Note the rubber cap and the remnants of the original part number tag. Remove the rubber cap. Place the valve body in a vice and remove the nut that seals the end of the valve. With the nut removed you can pull out the metering valve with a pair of pliers.
Note the small cap and spring found at the bottom of the metering valve assembly. Instructions to completely disassemble the metering valve can be found in our Mopar Metering Valve Autopsy and Rebuild articles.
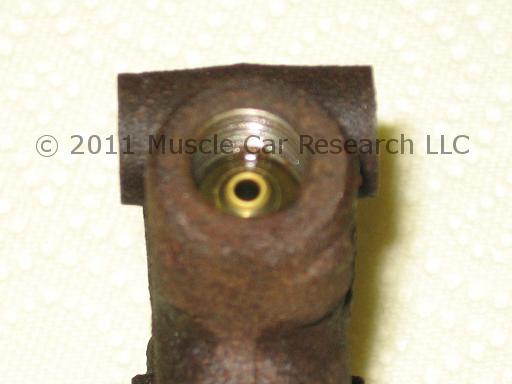
Two valve components down, one to go. How can we get to the pressure differential switch? The trick is in knowing that the brass tube seat at the end of the valve can be removed to allow access to the piston. If you look closely at the seat you'll see that it is pressed into place. Look closely at the outer edges of the seat and you'll see that it's not cast as part of the valve body.
So how can the seat be removed? The best way to remove the seat without damaging it is to tap the opening with a 6-32 tap, thread a 6-32 x 1" puller screw into the hole, and remove the seat with a few twists of a wrench. Muscle Car Research sells a puller tool if you'd rather not source the parts yourself.
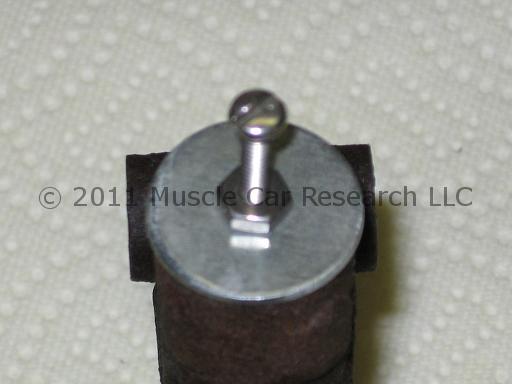
Hold the screw in place with a screwdriver. Turn the nut clockwise with an open end wrench. The seat will be removed cleanly and can be pressed in again when it's time to reassemble the valve. Note that the seat is actually the end of a piston assembly. There are two o-ring seals at each end of the piston.
We're still looking for the pressure differential switch piston. It's deeper inside the valve body. Push it out from the metering valve side of the body using a thin punch or drill bit.
Three more o-ring seals! If you've ever noticed a leak from your valve's electrical switch it's because one or more of these seals has failed.
I have kits to rebuild each of the component assemblies. Here are the links: proportioning valve, pressure differential switch, metering valve.
- Log in to post comments